
The most popular sunrise trek in Bengaluru!
Quick Facts
Location: Kalwara Village, Chikballapur
Distance: 50 kms from Hebbal
Altitude: ~1350m (~4500 feet)
Distance: 8 kms (up and down)
Trek Duration: 4-5 hours (up and down – can vary from person to person).
Trek Start Time: 4 am (they have another trek that starts at 8 am).
Difficulty: Moderate to Tough (opinion may vary depending on one’s fitness levels and prior trekking experience).
Best Season: November to March (post monsoon and before summers kicks in)
What to Carry
– Trekking shoes
– Water bottle
– Electrolytes
– Energy bars/bananas
– Torchlight
– Towel/bandana
– Extra T-Shirt (to change after the trek)
– Cap and Sunglasses (needed while descending)
– Sunscreen
– Backpack
– Raincoat (if you are doing your trek during the rainy season)
Introduction
Panchagiri – one of the other names by which the district of Chikballapur is known by as it is surrounded by 5 picturesque hills – Nanda Giri (Nandi hills), Brahma Giri, Hema Giri, Skandagiri and Chandra Giri (Channagiri). Of the 5 hills, Skandagiri is the most well known for its night trek which starts at 4 AM. The Skandagiri mountain falls under the Karnataka Forest Department, hence, it is mandatory to pre-book the trek. A maximum of 150 trekkers are allowed. There are many sources from where you can do the booking but we booked our trek via Karnataka Eco Tourism website (transport and guide not included) as it was economical. As the trail is well laid out, there is no need to hire a guide. Just follow the herd of trekkers to get the top!
Reaching Skandagiri
The starting point of the trek is from Kalwara Village which is located about 50 Kms from the Esteem Mall Bus Stop – Hebbal and takes about an hour to get there in the early hours of the morning. Since we were asked to report at 4 AM, we left from Hebbal at around 2.15 AM (kept a 45 min buffer) and reached the Skandagiri Trek Parking lot at around 3.15 AM.
The place was buzzing with activity as trekkers from Namma Trip and Thrillophilia were already there and getting briefed by their respective guides. If you are the kind of person who gets anxious about finding parking (just as I do) there is nothing to worry as there is ample parking space at the base of the mountain.
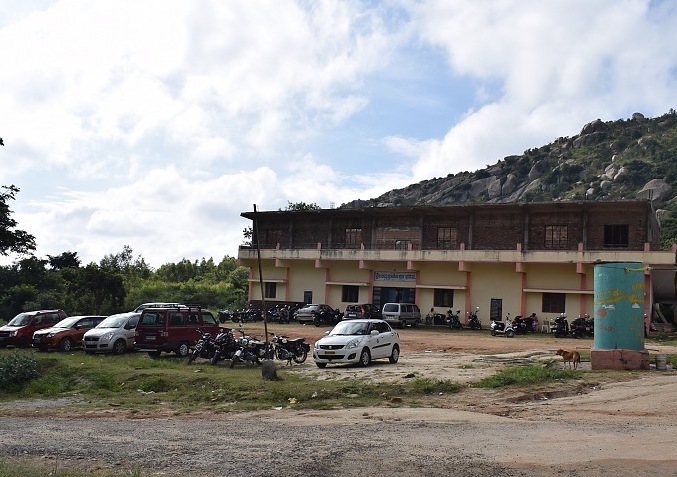
From the parking area, you need to walk for about half a km, where your booking and ID is verified by the Forest Officials, after which, the trek begins!
The Journey
From the base to the peak of the mountain is about 4 Km. Honestly, we slightly underestimated the trek assuming it would be a cake walk. The trail is quite rocky, rugged and undulating for most part of the journey. Some sections of the trek have a steep incline which adds to the challenge.
Individuals with leg injuries, lower back pain and those who lack proper fitness may find the trek slightly challenging. It may be best to prepare a little before doing the trek. The goal is to walk at a pace that suits your fitness level and not to compete with others to get to top first – remember this is not a race. Take rest when needed. You can just sit on the rocks when you get tired and resume when you feel better. You will definitely sweat a lot so it is very important to keep yourself hydrated throughout the journey – best to have electrolytes and carry a towel or a bandana to keep the sweat from trickling down your face. Carrie a few bananas and energy bars to keep you going along the journey.
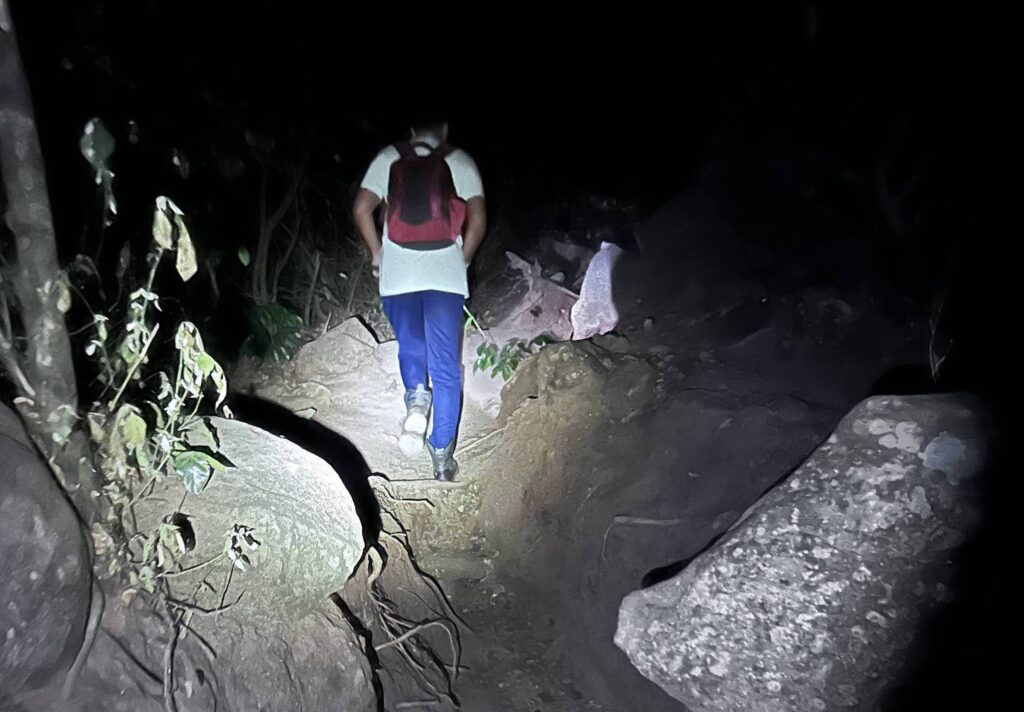
Since the trek starts when it is pitch dark, make sure to carry a torchlight that has a good battery backup. Make sure to wear proper clothing – a good pair of trekking shoes, trekking pants and a comfortable shirt – carry an extra shirt in case you need to change after you have completed the trek.
As you make your way to the top, just pause and look around. You will see other mountain ranges in the vicinity, the villages in the distance and the sun gradually making an attempt to rise. At about three-fourths of your way to the top, you will find the remnants of a fort.

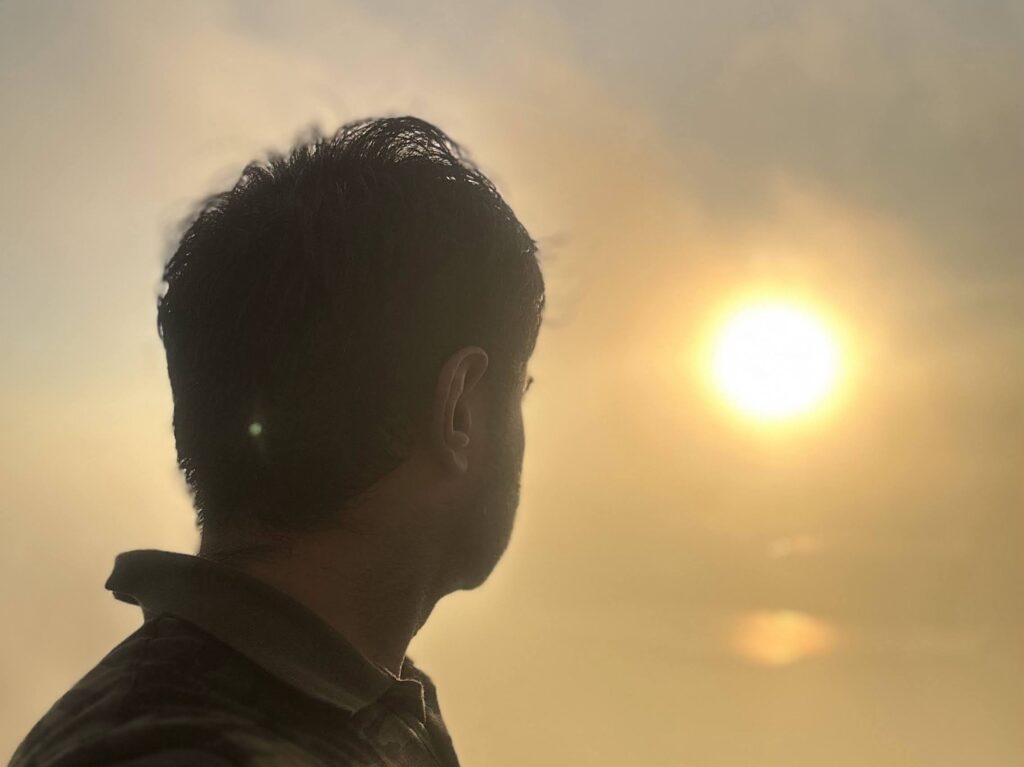
As you make your way to the top, you begin to realize that the battle is not only a physical one but a mental one too! There are times when you feel that you have almost reached the summit only to realize that you are quite some distance away. The whole purpose of the 4 AM trek is to reach the summit to view the sunrise. Knowing this at times you feel compelled to rush to the top as you are competing with the rising sun but considering the terrain, it is important realise that the goal is to make it to the top without injuring or exhausting yourself too much. Go easy!
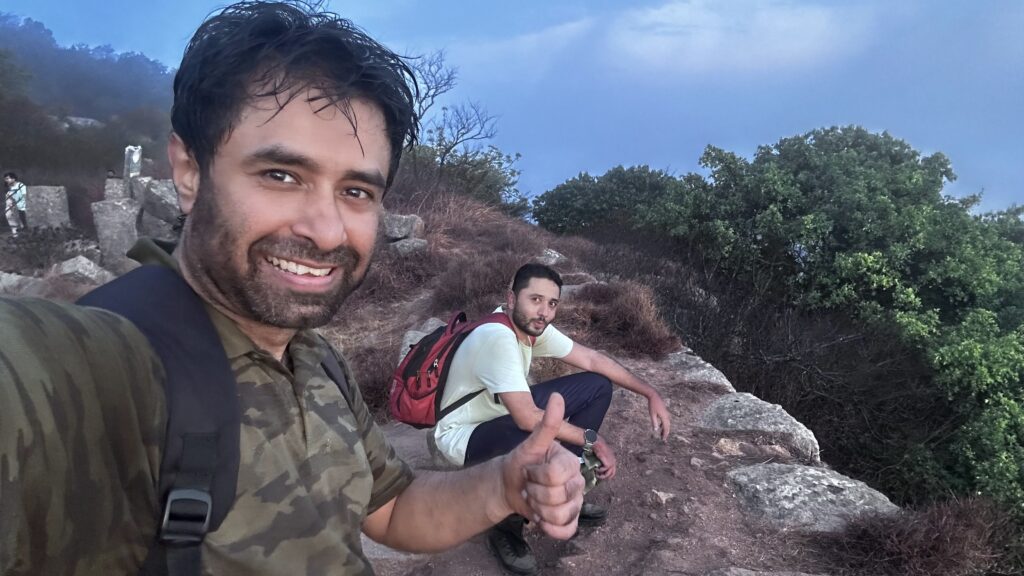
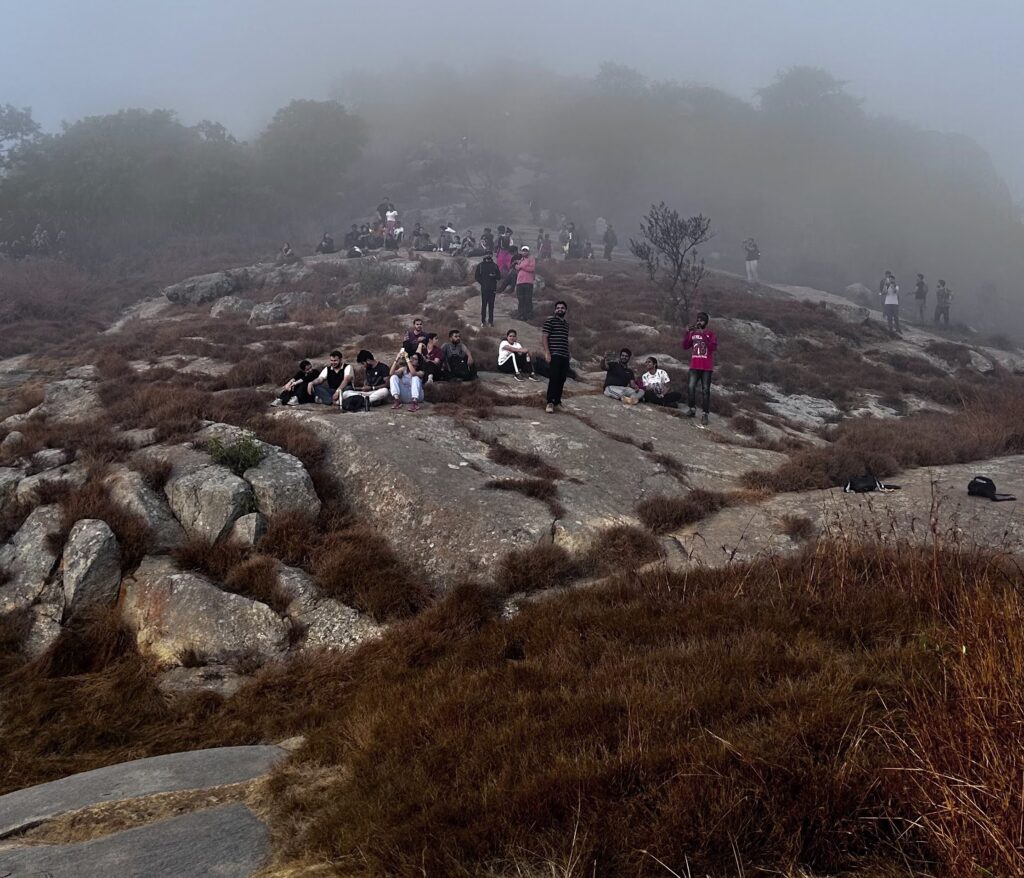
We started the trek at 4.10 AM, the sunrise was due at 6.08 AM and we managed to reach the summit at 6.02 AM – we made it just in time. Once you get to the top, you feel a sigh of relief of having made it.
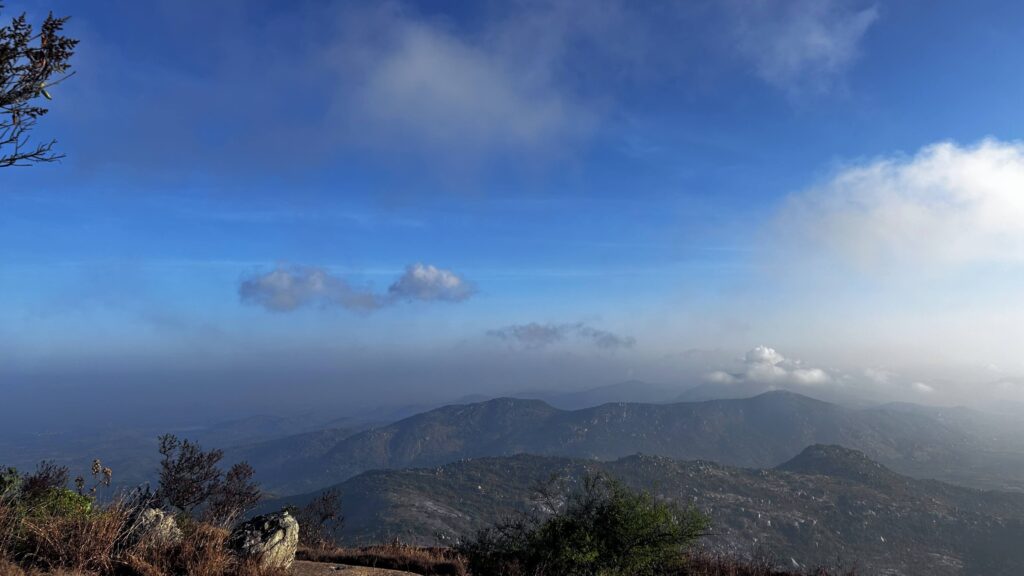
The view makes you feel that the trek was absolutely worth it! You can just sit and enjoy the view of the sunrise, the mountains and the clouds which silently pass by.
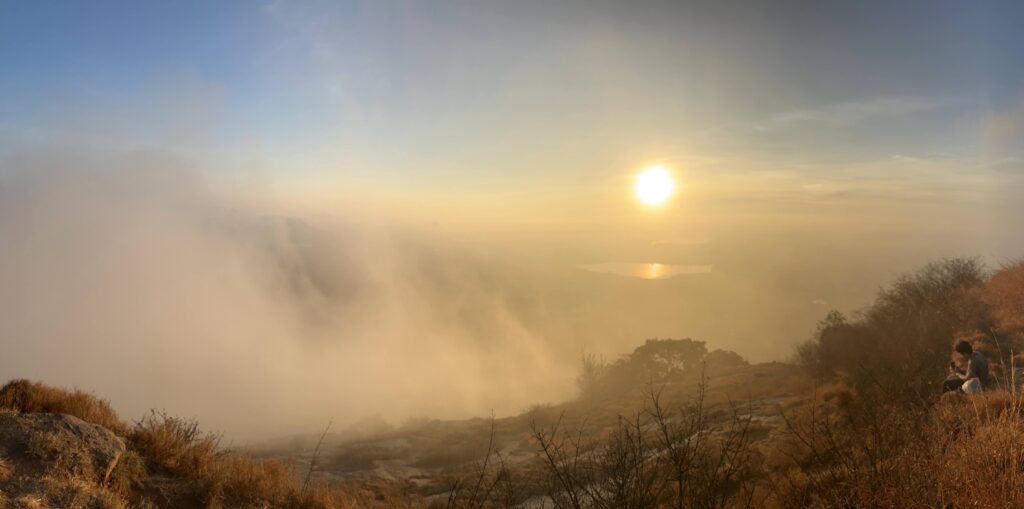
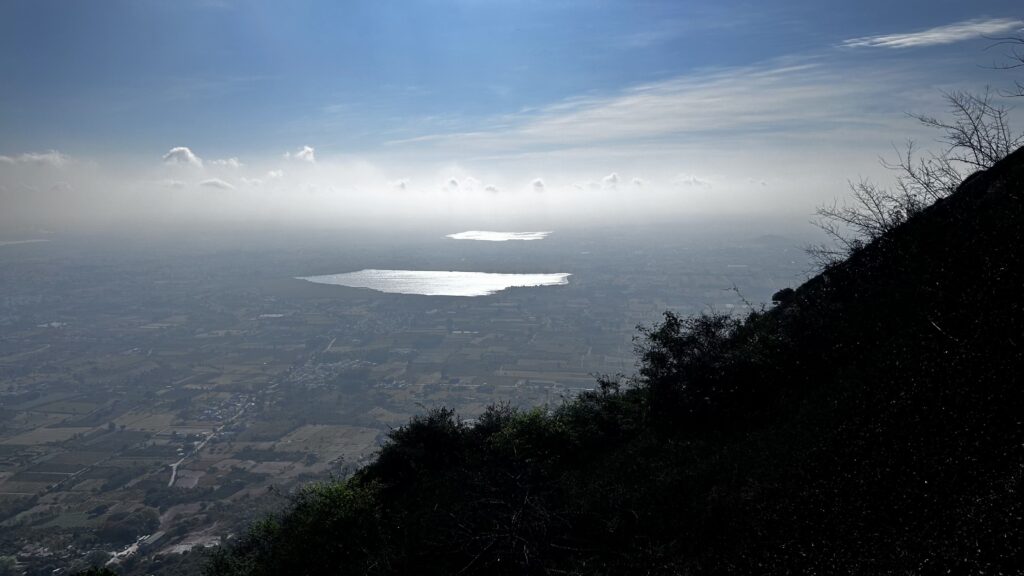
We were eagerly waiting for the sun to rise, but it seemed like the sun had other plans – constantly playing hide and seek with the clouds for while, before making itself visible. In the distance you will see a couple of lakes which adds to the scenic beauty.
At the top of the hill, there is mobile connectivity which gives you a good opportunity to make video calls to your friends and family, show them the view and allow them to be a part of your journey! Make sure you spend a good amount of time resting, taking pictures and soaking in the view before descending.
Yes, the climb up is challenging, but the trek back down has challenges of its own! Firstly, the route back down is the same as it is when you make your way up which means that the steep inclines are now steep slopes. You need to maintain balance, tread carefully and take one step at a time to ensure you do not slip. Secondly, the heat. We started making it down by 7.45 in the morning, the sun had risen and the rocks were beginning to radiate heat causing the air around to get really hot. There are certain sections where you will encounter thorny bushes which you need to be a little aware about. To add to the above challenges, my so called “trekking shoes” tore making the descend even more challenging for me personally. Purchase a good pair of trekking shoes – LESSON LEARNT!
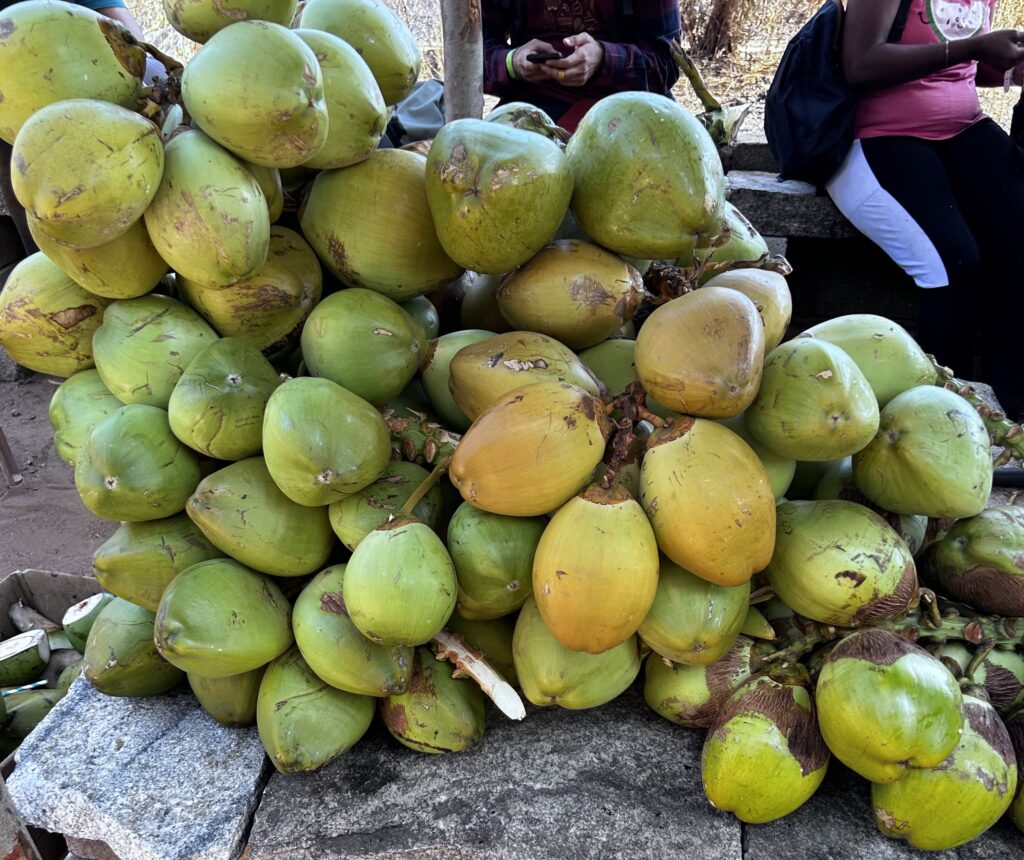
The descent to the base of the hill took about 1 hr 30 mins. Once you reach the point from where the trek began, you will see people selling tender coconut and buttermilk! Near the parking lot is a water tank where you can freshen up.
Since we were hungry, we began exploring options as to where we could stop to grab a bite. The obvious option that came to mind was Nandi Upachar. Since we had already visited this place a few times, we decided to go to this place called Suresh Gowda Military Hotel. This is a naati style non veg restaurant – vegetarians should stay away! Surprisingly, they were open at 10 AM in the morning with a limited menu serving mutton biryani, chicken fry and chicken masala. All other items they said would be available closer to 12 noon.
After belting the naati food, we headed home!

Conclusion and Learning
Two of us went on this trek by car and the total cost came upto Rs. 1000 (600 for trek booking and 400 for fuel). Additional cost for snacks, lunch and toll came upto about 700 per head.
1) It is very close to Bengaluru, about 50-70 Kms depending on where you stay.
2) Getting to the destination is easy since you need to travel at night and not battle the traffic
3) The total travel + trek time is about 6-8 hours so you have sufficient time to get back home, rest and have the rest of the day for yourself!
4) While trekking we saw people had littered plastic bottles, covers etc, so maybe it is a good idea to carry a plastic bag and collect all litter that we see along the way.
5) A good idea to look after other trekkers who may be finding the going tough. Always good to check in on the ones who you may find resting due to fatigue and exhaustion.
———X———————–X————————X———-
Leave a Reply